There is much open-source software and all of them are quite useful in our work. In this post, you will learn how to install Koha on Debian 10 and manage a library easily.
So, “Koha is a fully featured, scalable library management system. Development is sponsored by libraries of varying types and sizes, volunteers, and support companies worldwide”.
Then with Koha, we can have all the necessary tools to manage a library. It has an advanced community of users and contributors that make it flexible and powerful.
Installing Koha on Debian 10
The first requirement is to have installed and configured MariaDB or MySQL in Ubuntu 20.04
To do this read our post
How to install MySQL on Ubuntu 20.04?
Or in the MariaDB section of the LAMP post
How to install LAMP on Ubuntu 20.04?
Then, or install some necessary packages.
sudo apt install gnupg wget
Now we have to add the Koha repository to the Debian 10 sources.
First, import the GPG key:
wget -q -O- https://debian.koha-community.org/koha/gpg.asc | sudo apt-key add -
Then, add the repository in question:
echo 'deb http://debian.koha-community.org/koha stable main' | sudo tee /etc/apt/sources.list.d/koha.list
Refresh APT
sudo apt update
And finally, install Koha
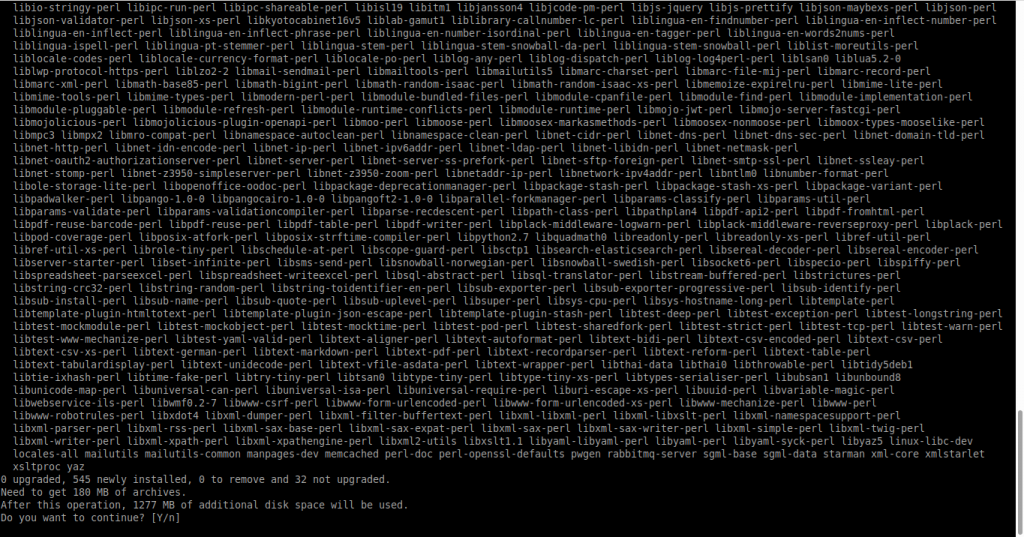
sudo apt install koha-common

Koha as a dependency installs Apache so keep this in mind.
Configuring the Koha instance
Before using Koha it is convenient to create and configure the instance we are going to use.
First, add your domain to the Koha sites configuration file.
sudo nano /etc/koha/koha-sites.conf
And replaces
DOMAIN=".myDNSname.org"
For yours, for example:
DOMAIN=".osradar.test"
Save the changes and close the editor.
Then enable the Apache rewrite and cgi modules.
sudo a2enmod rewrite
sudo a2enmod cgi
sudo systemctl restart apache2
Now we can create instances together with the new database:
sudo koha-create --create-db osradar
And you will get a screen output similar to this one:
Koha instance is empty, no staff user created.
[ ok ] Starting Koha worker daemon for osradar:.
[ ok ] Starting Koha indexing daemon for osradar:.
Remember to replace osradar with the name of your instance.
Use the following command to display the default password.
sudo koha-passwd osradar
Before opening the browser to complete the installation remember that the address of the library is http://[your-instance].[your-domain] And the address of the administration panel is http://[your-instance]-intra.[your-domain]
Once you access the configuration panel you will see the login screen

And then you can continue with the installation. Selecting the language, database settings, and other options. In the end, Koha will be ready for action.
Conclusion
Koha is a wonderful software that makes managing a library a fairly simple matter. That’s why it’s worth knowing how to install and use it


