Hello! Windows 10 is a very complete system. Indeed, it incorporates a lot of capabilities. Therefore, it also has network functions. Some of them are those relating to the control of the consumed data. Indeed, it is possible to check which applications have consumed more internet. This makes it possible to better manage consumption. This is very useful in certain cases. For example, when using the cell phone as a mobile hotspot. So it is necessary not to exceed the limit. Consequently, today we will learn how to limit data usage in Windows 10.
How to view and control data usage in Windows 10.
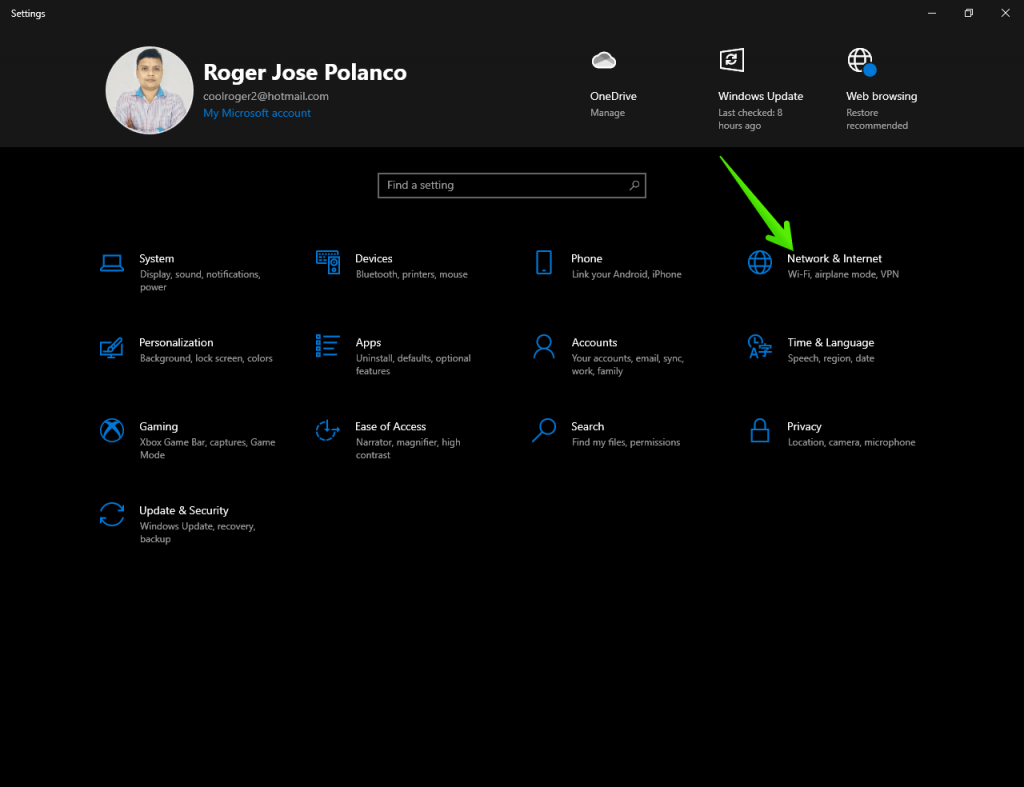
Best of all, there is no need to download additional tools. On the contrary, Windows has built-in functions to do so. What allows to know how much data has been consumed. In addition to discriminate it by application. It is well known that not all programs consume the same resources. So let’s see how to check internet consumption. With this intention, press the Win+I combination to go to Windows Settings. Once there, click on Network & Internet.

Next, you just have to choose the connection to analyze. Either Ethernet or Wi-Fi. As a result, we will see the total data consumed in the last 30 days.

Now, if you click on Data Usage, you will see the amount of data consumed by each application.
How to limit data usage in Windows 10.
It is possible that at some point we may want to limit data usage on the system. This may be due to limitations in our data plan. Or, when connecting to a public network that offers limited data. In any case, it is possible to set a limit for data consumption. In fact, we can do it from the same screen above. After clicking on Data Usage, just click on Enter limit.

A new window will immediately pop up. Once there, you can set a limit measured in MB or GB. It is also possible to select if this limit will be monthly, one-time or limited. Likewise, we can set a day of the month to reset it. This is very useful to make it coincide with the cut-off date of our plan.

Background applications also consume data.
Windows has certain functions and tools active on the network. Therefore, these programs consume data in the background. This causes problems in connection performance. So to limit these programs, please follow the path below:
Windows Settings>Privacy>Background apps
You can flatly disable all background applications. With this in mind, just turn off the first switch. Similarly, you can disable a specific application. To do so, just disable the corresponding switch.

Establishing a metered network connection
We have mentioned that Windows has several network options. One of these options allows you to configure the connection behavior. In fact, when starting a new connection, we can set it as a metered connection. This implies that Windows will intelligently limit the network access of applications. In order to keep control over data consumption. Please follow the path below:
Windows Settings>Network & Internet>Network Status>Properties

Ultimately, we have seen how to limit data usage in Windows 10. A great way to control access to the system network. Bye!


