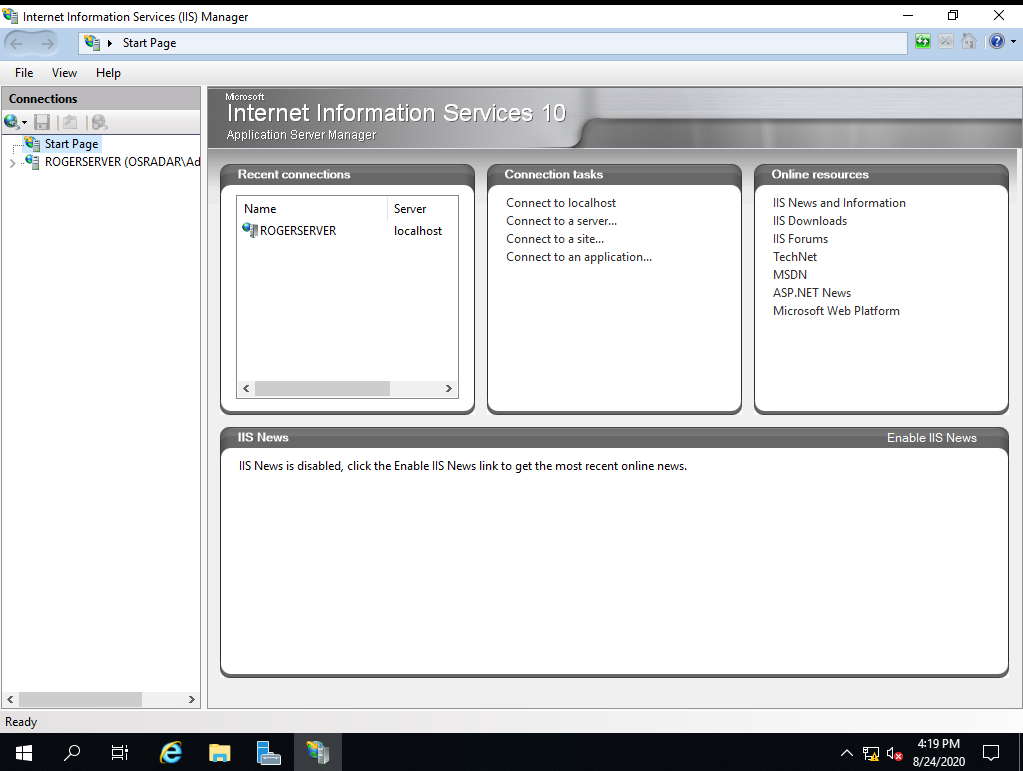
Hi! Today we will continue to talk about Windows Server. It is well known that its use in a corporate environment is a practical alternative. Since it allows centralizing roles, functions, and services inherent to users and computers. Additionally, Windows Server allows adding extra functionalities. These additions increase the functionality of the company and maximize the power of the server. Specifically, we will study Internet Information Services (IIS). This service, also known as Windows Web Server can be added to Windows Server 2019 or 2016. So you can host web applications. In addition, this technology incorporates important improvements. For example, it reduces the surface of the web attack and improves the overall performance of the server. Also, it allows the construction and development of customized servers. For that reason, today we will see how to install IIS on Windows Server 2019/2016.
How to Install IIS with Server Manager
Once again we will use the Server Manager. This tool is a comprehensive administration center for adding and removing items. Well, once there please click on Add Roles and Features:

On the next screen, please click Next to continue.

Now it is time to select the type of installation. Please click on Role-based or feature-based installation.

Now it is time to select the server where IIS will be installed.

Now it is time to select the server where IIS will be installed.

Then the roles available for installation will be displayed. Please check the box corresponding to Web Server (IIS).

Immediately a window will be displayed with the characteristics that will be attached along with IIS:

Back to the previous screen, you can see how the Web Server box is indeed checked. Please click on Next.

The box corresponding to Features can be omitted, since it is not necessary to select any option.

Below is a brief summary of the IIS installation.

Below are the roles required for the Web Server to function properly. You can leave them by default or add roles according to your needs.

Finally, confirms the installation

Now please wait a few seconds while the IIS installation runs.

After a few seconds, IIS will be successfully installed on the Web Server.

And as you can see, it is already available on the Server Manager

How to Install IIS with Windows PowerShell on Windows Server 2019/2016
A more expedient way to install this Web Server is through PowerShell. To do this, you only need to run the following command:
Install-WindowsFeature -name Web-Server -IncludeManagementTools

How to Open and Configure IIS with the Windows Server Manager.
As mentioned, IIS will be available for access from the Server Manager. In fact, all you have to do is select it from the tool list.

Next, you will see all the available configuration options. In addition, it is possible to configure IIS according to the needs of the company.

Finally, simply enter http://localhost in the web browser to verify the installation of IIS.

In this way, we have seen how to install IIS on Windows Server 2019/2016. Likewise, we show you how to do it graphically and using PowerShell. Consequently, you will be able to manage web applications on your server. Okay, that’s it for now. Before saying goodbye I invite you to see our post about how to demote a domain controller in Windows Server 2019/2016. So long!


