

This tutorial will help you install Icinga2 on Debian 10. We will also contribute to install Icingaweb to better visualize the monitoring.
Icinga is an open-source software based on nagios that allows monitoring computer systems and networks. It is widely known worldwide as one of the most complete and easy to use.
So today we are going to install it.
Install Icinga2 on Debian 10
1) Install LAMP on Debian 10
First of all, it is necessary to have a basic LAMP service. This is mainly because we are going to install Icingaweb.
How to install LAMP on Debian 10?
Once you have LAMP installed you have to configure the timezone in PHP. To do this execute the following command:
:~$ sudo nano /etc/php/7.3/apache2/php.ini
And set the timezone:
date.timezone = "America/Chicago"
Save the changes and close the file. Then restart apache to apply the changes.
~$ sudo systemctl restart apache2
Now we can continue.
2) Create a database for Icinga
Now it is necessary to create a new database for Icinga. In this sense, we will take the opportunity to create a new user as well.
We access the MariaDB console and start:
:~$ sudo mysql -u root -p
> CREATE DATABASE icingaweb;
> GRANT ALL PRIVILEGES ON icingaweb.* TO 'icingawebuser'@'localhost' IDENTIFIED BY 'icingawebpss';
> FLUSH PRIVILEGES;
> EXIT;

3) Installing Icinga2 on Debian 10 (I)
Now we can install Icinga2’s base system. This must be done before installing Icingaweb. So open your terminal and run the following:
:~$ sudo apt install icinga2 vim-icinga2 monitoring-plugins-basic monitoring-plugins-common icingacli icinga2-ido-mysql

During the installation, we will be shown some screens asking if we want to enable Icinga support for Ido-mysql. Say yes.

After that, you will have to configure the icinga2-ido-mysql package. Again, say yes.

Then, set the MariaDB password for icinga2-ido-mysql.

4) Install Icingaweb2 on Debian 10
Now we can install Icinigaweb2. To do this just use the following command:
:~$ sudo apt install icingaweb2

And so that there are no problems in the running of the application, it is necessary to create a group icingaweb2 and be added to www-data.
:~$ sudo addgroup --system icingaweb2
:~$ sudo usermod -a -G icingaweb2 www-data
Before continuing the installation from the web, it is necessary to generate a token that we need. To do this, use these commands:
:~$ sudo icingacli setup config directory --group icingaweb2
:~$ sudo icingacli setup token create

Finally, restart the apache and Icinga service.
:~$ sudo systemctl restart apache2 icinga2
Now, we can continue.
5) Icinga2 on Debian 10 (II)
Now we can begin to complete the installation of Icinga2. Open your web browser and go to http://your-server/icingaweb2/setup.
In this first screen you have to introduce the recently generated token:

After clicking on the button below, enable the required modules. I will leave it by default.

On the next screen, the server requirements will be checked. Then click on next.

After that, set the authentication type:

When you click on next, you will have to place the credentials of the database that we have previously created.

Then set the authentication backend.

Now create the admin user and your password.

Now, set the application configuration.

Now, you will see an installation summary. Just click on Next.

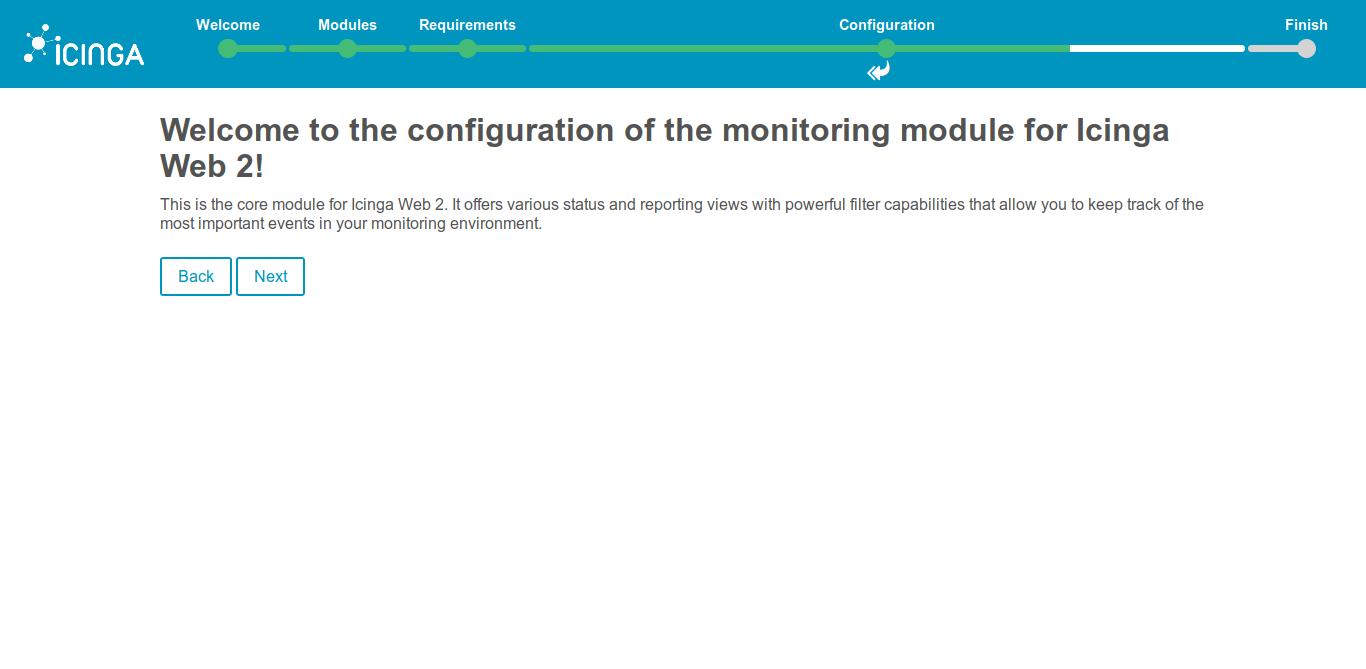
Now, configure the monitoring module.
Now, configure the monitoring backend.

Then, type the following credentials to configure the monitoring resources:

Now, the command transport.

After that, configure the monitoring security.

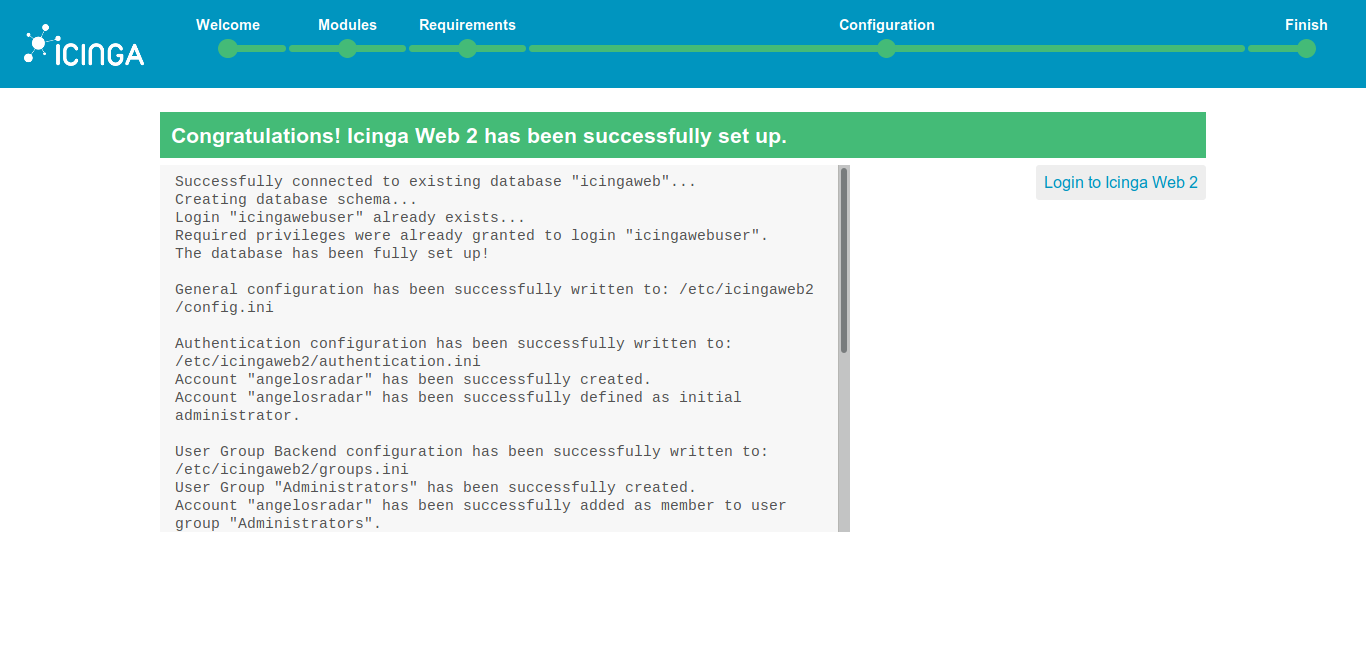
Finally, you can start the installation.

If everything went well, you will see a screen like this.
Now, you will see the log in page.

And you will see the dashboard.

So, enjoy it.
Conclusion
Now that you know how to install Icinga2 on Debian 10, you will be able to enjoy a pretty good tool to monitor networks and computers. This way it will be easier to administer the network and computers. While it is true that there are several steps, everything is worth with this great tool.
